
Classic

A plastic storage system must be assembled quickly and without errors. In the food industry, every action counts. Errors during assembly directly lead to risks in areas such as safety, contamination or inefficient use of space.
This means that the components are easy to click and slide into place, ensuring they fit together perfectly! As a result, the system remains clean and easy to maintain.
Unique advantages of REA storage systems:
To assemble your storage system correctly, it is best to read the manual carefully or follow the step-by-step guide below. Furthermore, REA storage systems are intended for the storage of products. Use for other purposes will result in wear and tear or damage.
Assemble the system in accordance with the instructions. Do not modify any parts without authorisation. Any deviations may weaken the structure.
Always work on a level surface. Check in advance that all parts are present. Do not apply excessive force and do not force any connections.
Well-organised preparation prevents delays during assembly. Lay out all the components clearly. These include uprights, beams, shelves and feet.
Check the dimensions straight away. The available space determines how the system is installed. This is particularly important in cold stores and freezer rooms, where every centimetre counts.
Determine the layout of the racking or other storage system in advance. Consider the products you are storing and the space required per level. Take accessibility and working space into account.
The storage system must be cleaned and disinfected before use. This applies to every application in the food industry.
The material has a smooth surface and fits tightly. This means that dirt is less likely to adhere. Cleaning is still necessary to prevent contamination.
Follow these steps:
Limescale can form in areas with temperature fluctuations. Remove this using a suitable anti-limescale agent.
Assembling an REA storage system is a piece of cake. The system uses a click-and-slide connection. No tools are required.
Follow the steps below to ensure your storage system is assembled perfectly.
Place the uprights at the correct distance from one another. This distance depends on the width of the racking.
Stand the uprights upright and check the alignment.
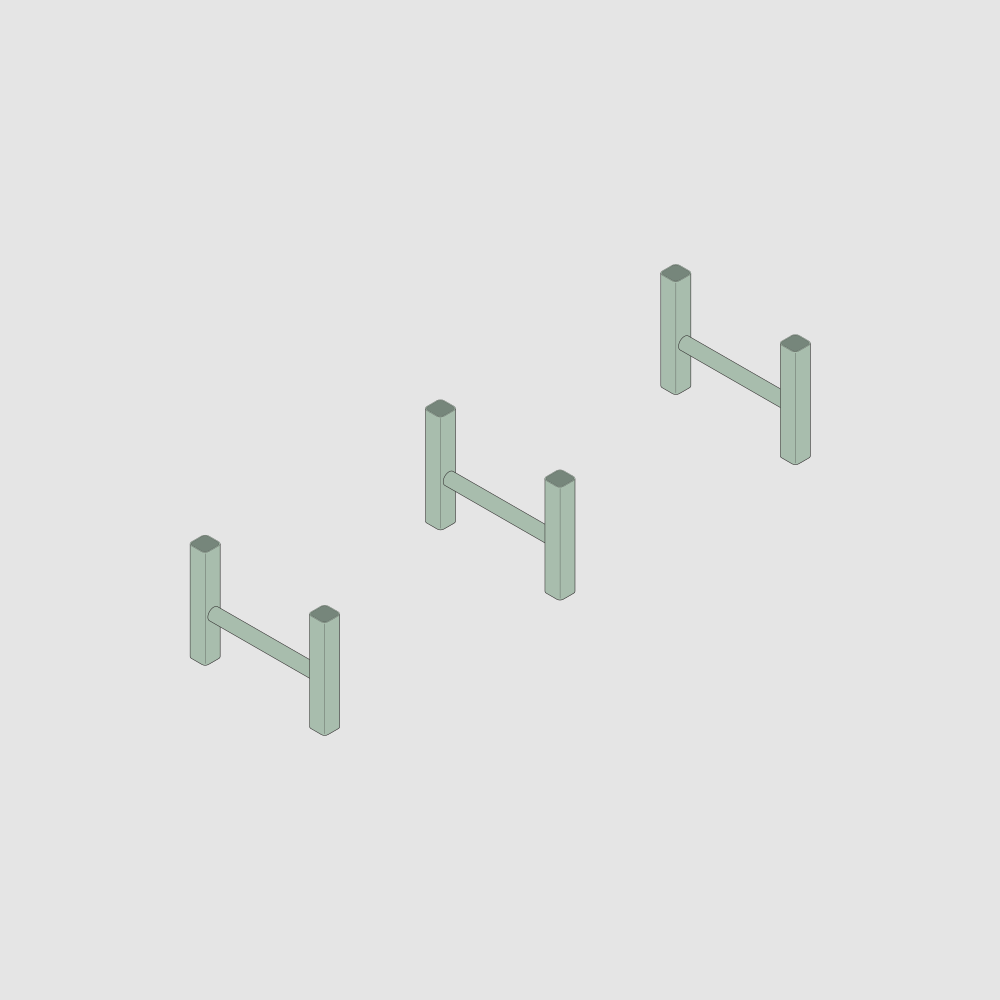
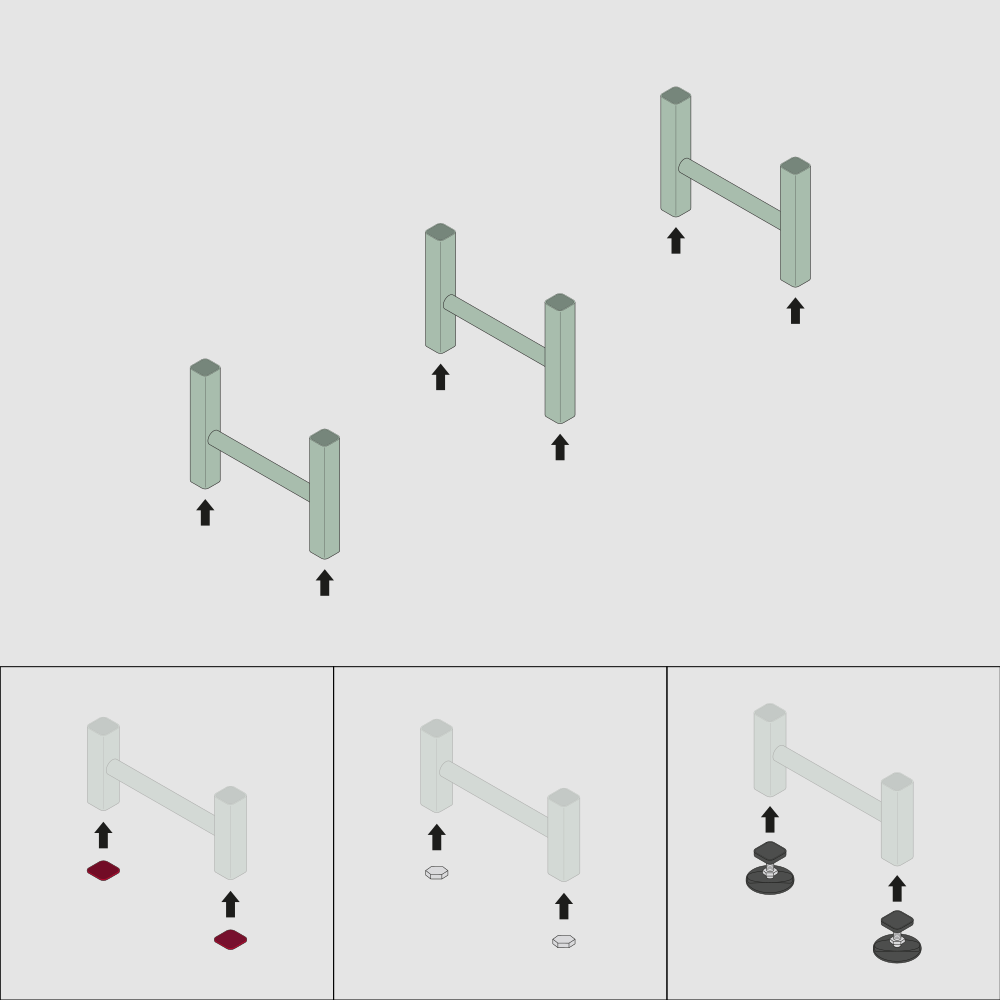
Click the feet into place under the uprights. These form the base of the system.
If the floor is uneven, it is best to use adjustable feet.
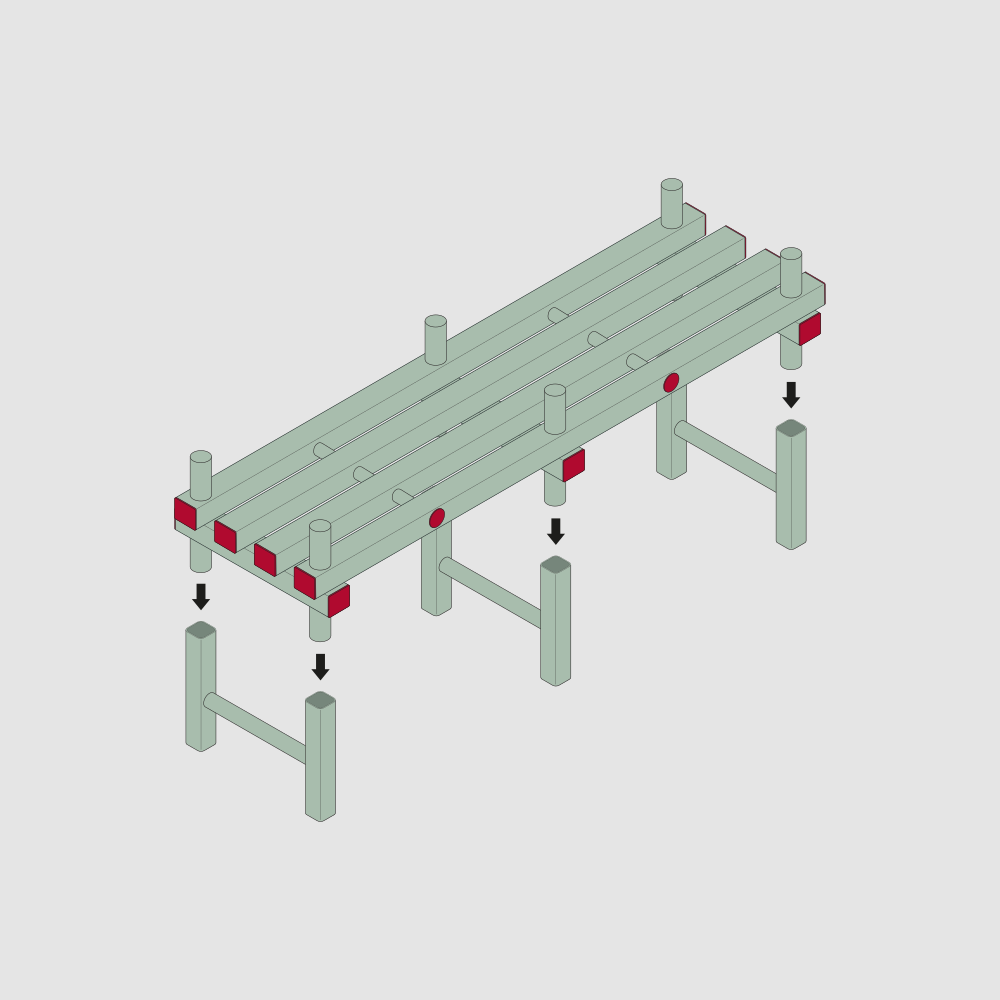
Insert the beams into the uprights. Press them firmly into place until they are securely fixed. The connection fits snugly, ensuring there are no gaps where dirt can accumulate.
After fitting, check that the crossbar is securely fastened.
*Please note: the crossbar must always be fitted to the underside of the shelf.
Determine the height of each level. Tailor this to the products you are storing.
Leave sufficient space between the levels. This makes it easier to work and prevents damage to products.
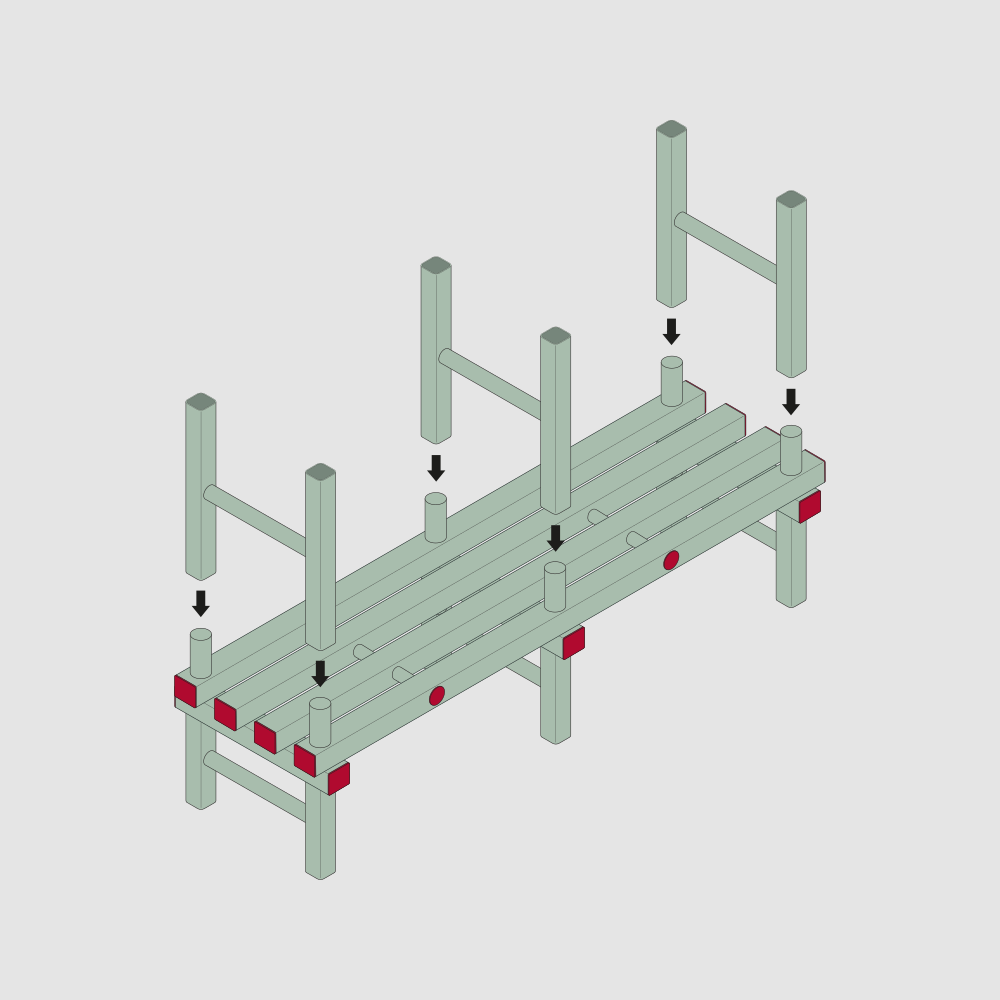
Place the plastic shelves on the beams. They sit securely and fit snugly.
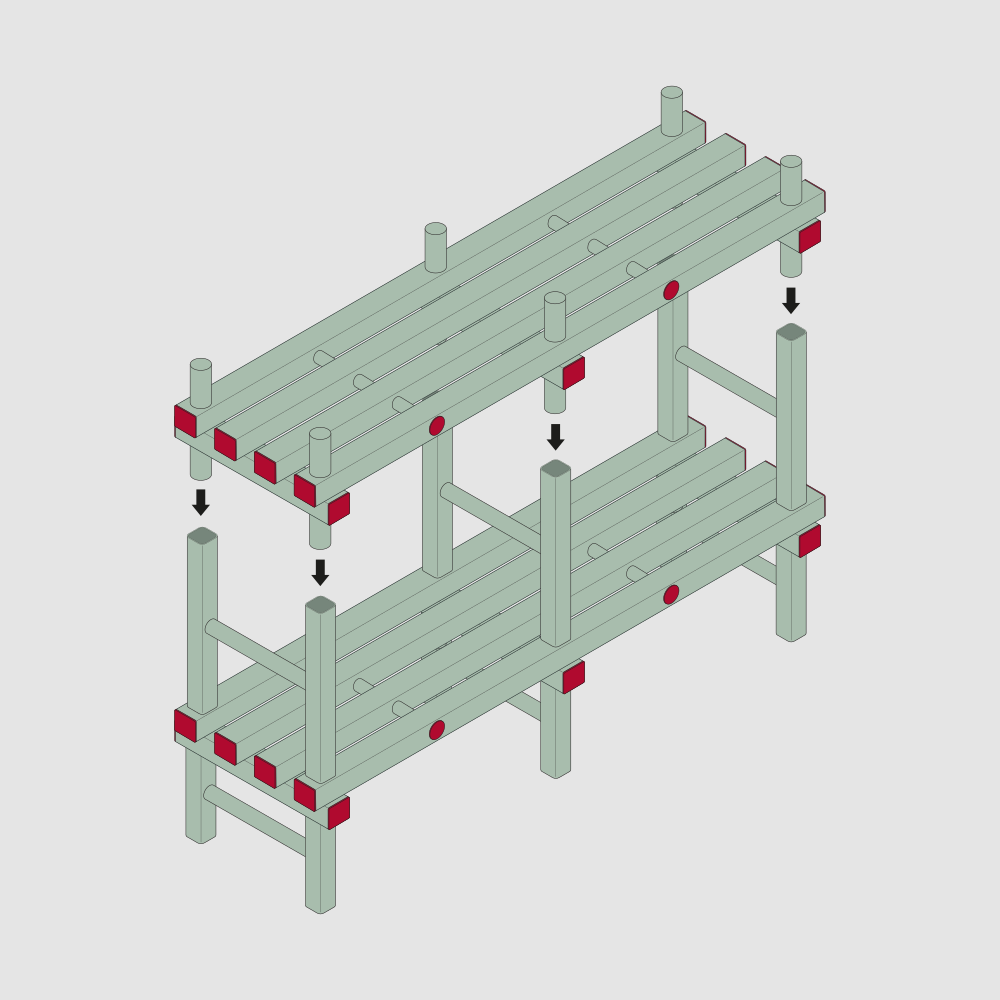
Repeat the process of fitting beams and shelves for each level. Work from the bottom up. This keeps the structure stable during assembly.
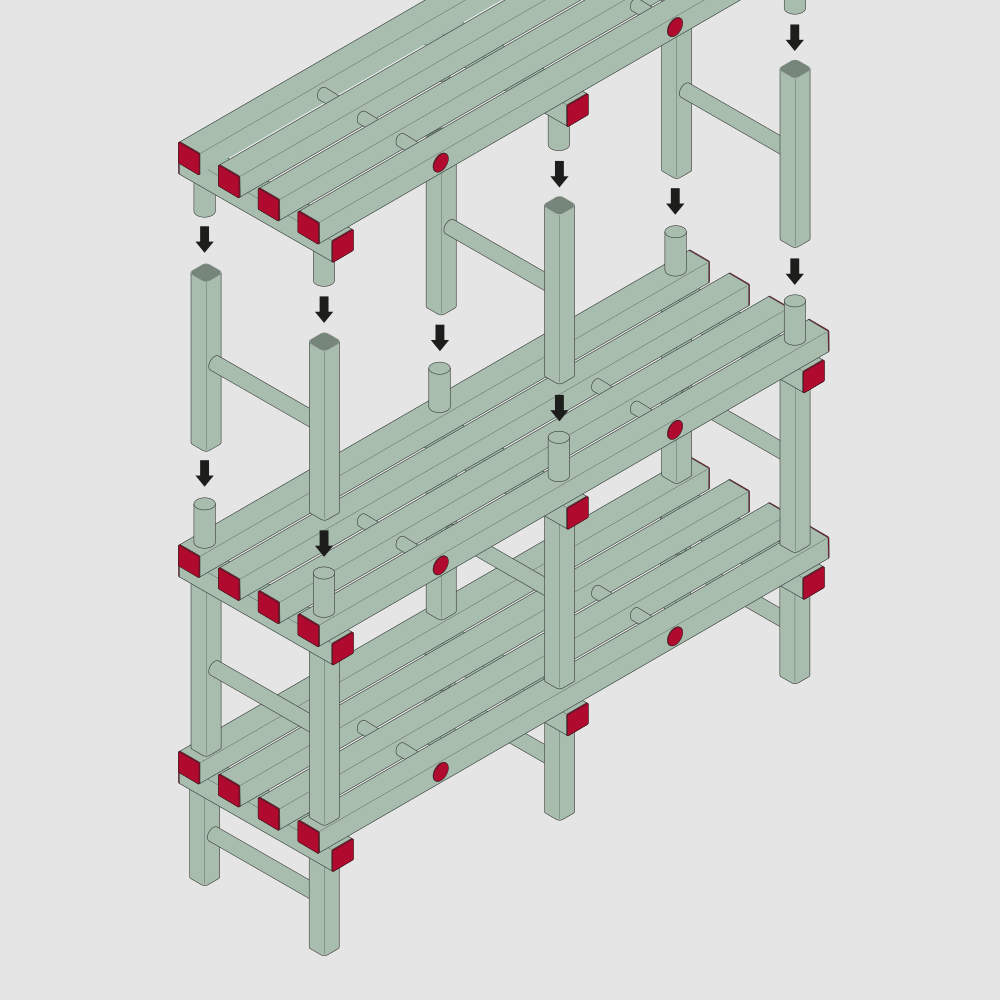
Once assembly is complete, check the entire system. Check that all parts are securely fastened and that the rack is straight. Correct any misalignments where possible.
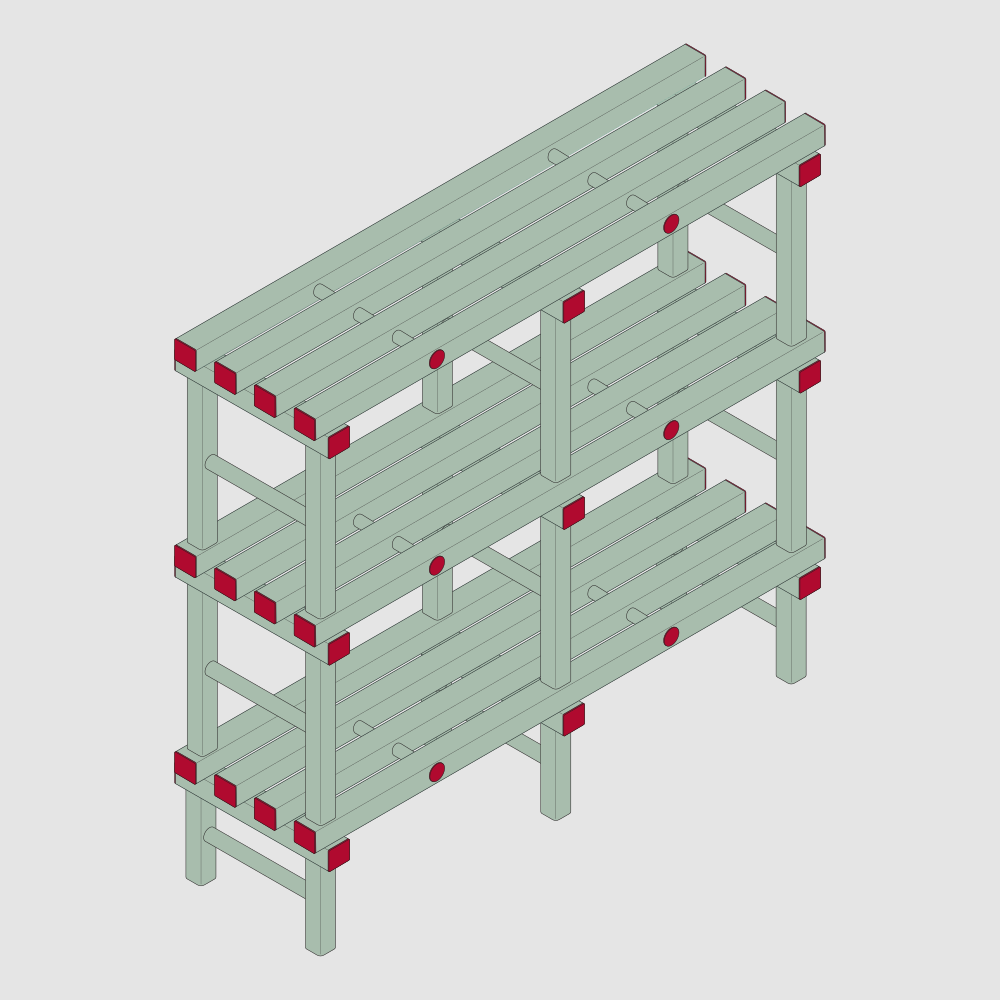
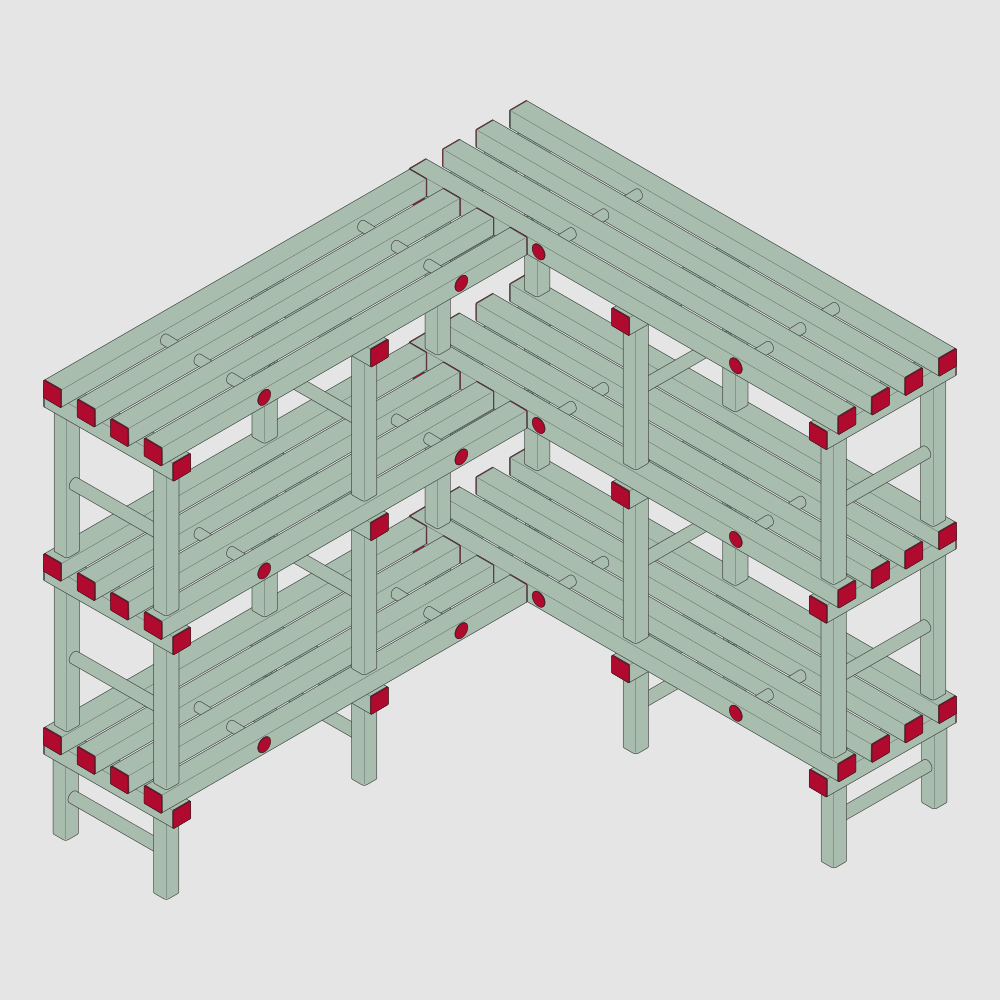
The system has a modular design. You can connect additional sections without the need for major modifications. This makes it possible to expand the storage capacity when the situation requires it.
Have you assembled the storage system following the step-by-step guide above? If so, your storage system is ready for use.
There are no screws or loose parts that need tightening. The system is immediately stable and can bear loads within the specified load-bearing capacity (maximum 200 kg per linear metre).

You can install a REA plastic storage system quickly if you work in a structured manner.
Good preparation prevents errors. Cleaning and disinfection are required before use. Assembly is carried out using a logical click-and-slide system. A final check prevents problems during use. Expansion remains possible without any adjustments to the existing setup.
Using this approach, you can create a storage solution that meets the requirements of the food industry. You’ll keep the system clean, well-organised and reliable in use.
If you want a layout that suits your space and processes, it’s wise to plan this carefully in advance. Our specialists are happy to help you find the right solution!


